Surfaces Guide
Goal: Understand surfaces and connect your data to them.
What is a Surface?
| Concept | Explanation |
|---|---|
| Execution boundary | Where code and queries actually run |
| Domain container | Group related queries together |
| Data scope | Defines what data is available to queries |
Think of it this way: Data connections are like the main water line. Surfaces are where you use that water for specific purposes.
Surface vs Workspace
| Level | Purpose | Contains |
|---|---|---|
| Workspace | Management, holistic view | Connections, surfaces, team |
| Surface | Execution, specific goals | Warm queries, APIs |
Prerequisites
Before creating a surface:
- At least one data connection with data flowing
- Workspace canvas open
Creating a Surface
Option A: Drag and Drop
- Locate Surface in the Node Bank (left edge, cyan layered squares icon)
- Drag the Surface onto the canvas
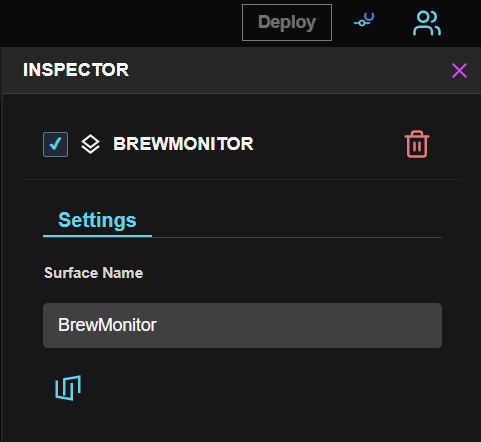
- Click the Surface node to open Inspector
- In Settings, name it descriptively (e.g., "production-monitoring")
- Commit your changes (click save icon, top-left)
Option B: Ask Azi
Connecting Data to Surfaces
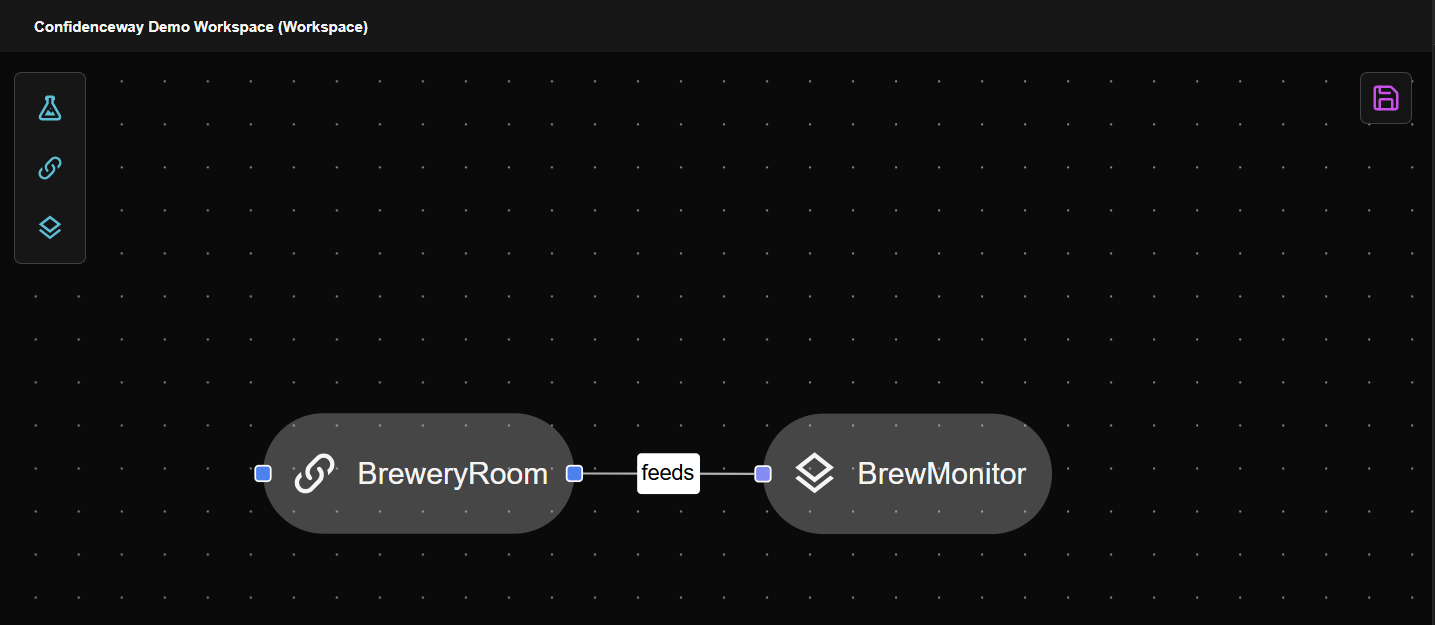
Data must "spill onto" the surface before you can query it.
- Hover over your data connection node
- Click the connection handle (small circle)
- Drag line to the surface
- Release to connect
- The edge will display a "feeds" label showing the data relationship
Thinking Tip:
One data connection can connect to multiple surfaces. Each surface gets the same data independently.
Verifying the Connection
After connecting:
- Click the surface node
- Open Inspector
- Check Connected Sources section
- Your data connection should be listed
Thinking Tip:
The connection line on canvas shows data flow direction. Arrow points from connection toward surface.
Multiple Connections
A surface can receive data from multiple connections:
| Setup | Result |
|---|---|
| Connection A → Surface | Data A available |
| Connection A + B → Surface | Data A + B available |
| Connection A + B + C → Surface | Data A + B + C available |
Queries inside the surface can access all connected data.
Inside a Surface
To enter a surface:
- Click the surface node to open its Inspector
- Click the Manage Surface icon (cyan layered squares) in the Inspector
- You're now "inside" the surface
- The canvas shows surface-level view
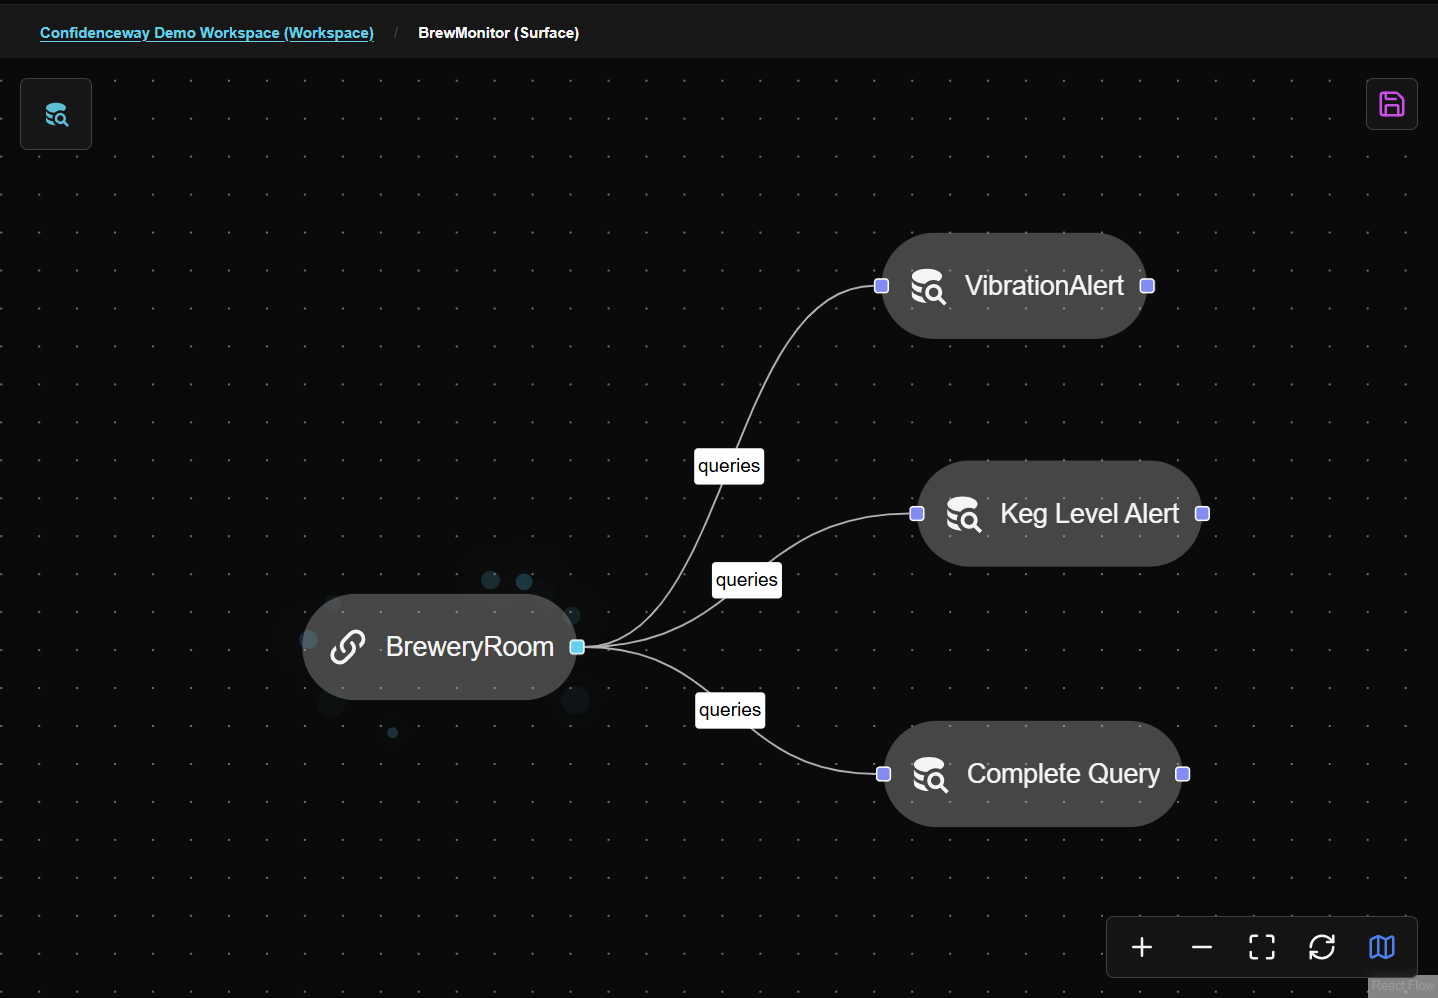
Inside, you'll find:
- Node Bank - Drag Warm Query nodes onto the surface canvas
- Connected data - See which connections are attached (with "feeds" edges)
- Surface settings - Configure in the Inspector panel
Surface Settings
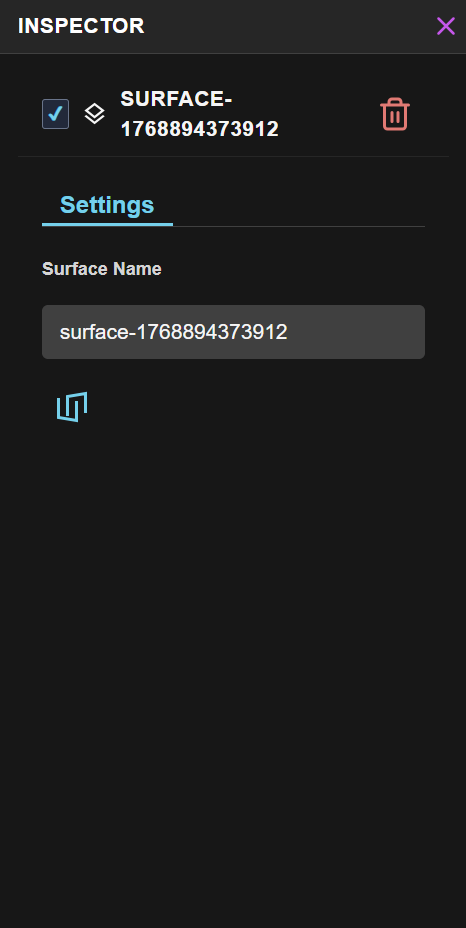
In the surface Inspector:
| Setting | Purpose |
|---|---|
| Name | Display name in UI |
| Description | Documentation for team |
Surface Organization Patterns
| Pattern | When to Use |
|---|---|
| One per domain | Separate surfaces for production, quality, maintenance |
| One per team | Each team owns their surfaces |
| One per use case | Dashboards, alerts, reports each get a surface |
Commit Your Changes
Surface creation and connections require a Commit to take effect.
- Click the Save icon (top-left) - it glows purple when there are uncommitted changes
- After committing, click Deploy to make changes live
- The green checkmark confirms your workspace is deployed
Next Steps
| If you want to... | Go to... |
|---|---|
| Build queries in surfaces | Warm Queries Guide → |
| Understand commit workflow | Save vs Commit → |
On this page
- FrontmatterVersion: 1 DocumentType: Guide Title: "Surfaces" Summary: "Create a Surface, route connections into it, and work inside it. Surfaces are the execution boundary where your warm queries and APIs live." Created: 2026-01-18
- Surfaces Guide