Step 1: Create Connection
Goal: Create a data connection - the entry point for telemetry into your workspace.
What is a Connection?
A data connection is your entry point for telemetry:
- Backed by Azure IoT Hub
- Supports MQTT, AMQP, HTTPS
- Compatible with HighByte, FBxEdge, and other OT gateways
- Can receive simulated or real device data
For this quickstart, we'll create a connection and configure a simulator to generate test data.
Option A: Drag and Drop
- Open your workspace in OpenIndustrial
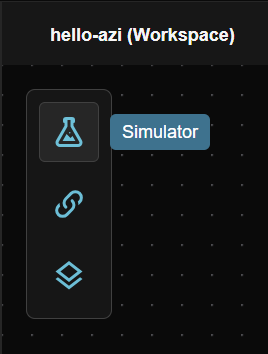
- Locate the Node Bank on the left side of the canvas
- Find Connection in the node list (chain link icon)
- Drag it onto the canvas
- Give it a name (e.g., "BreweryRoom")
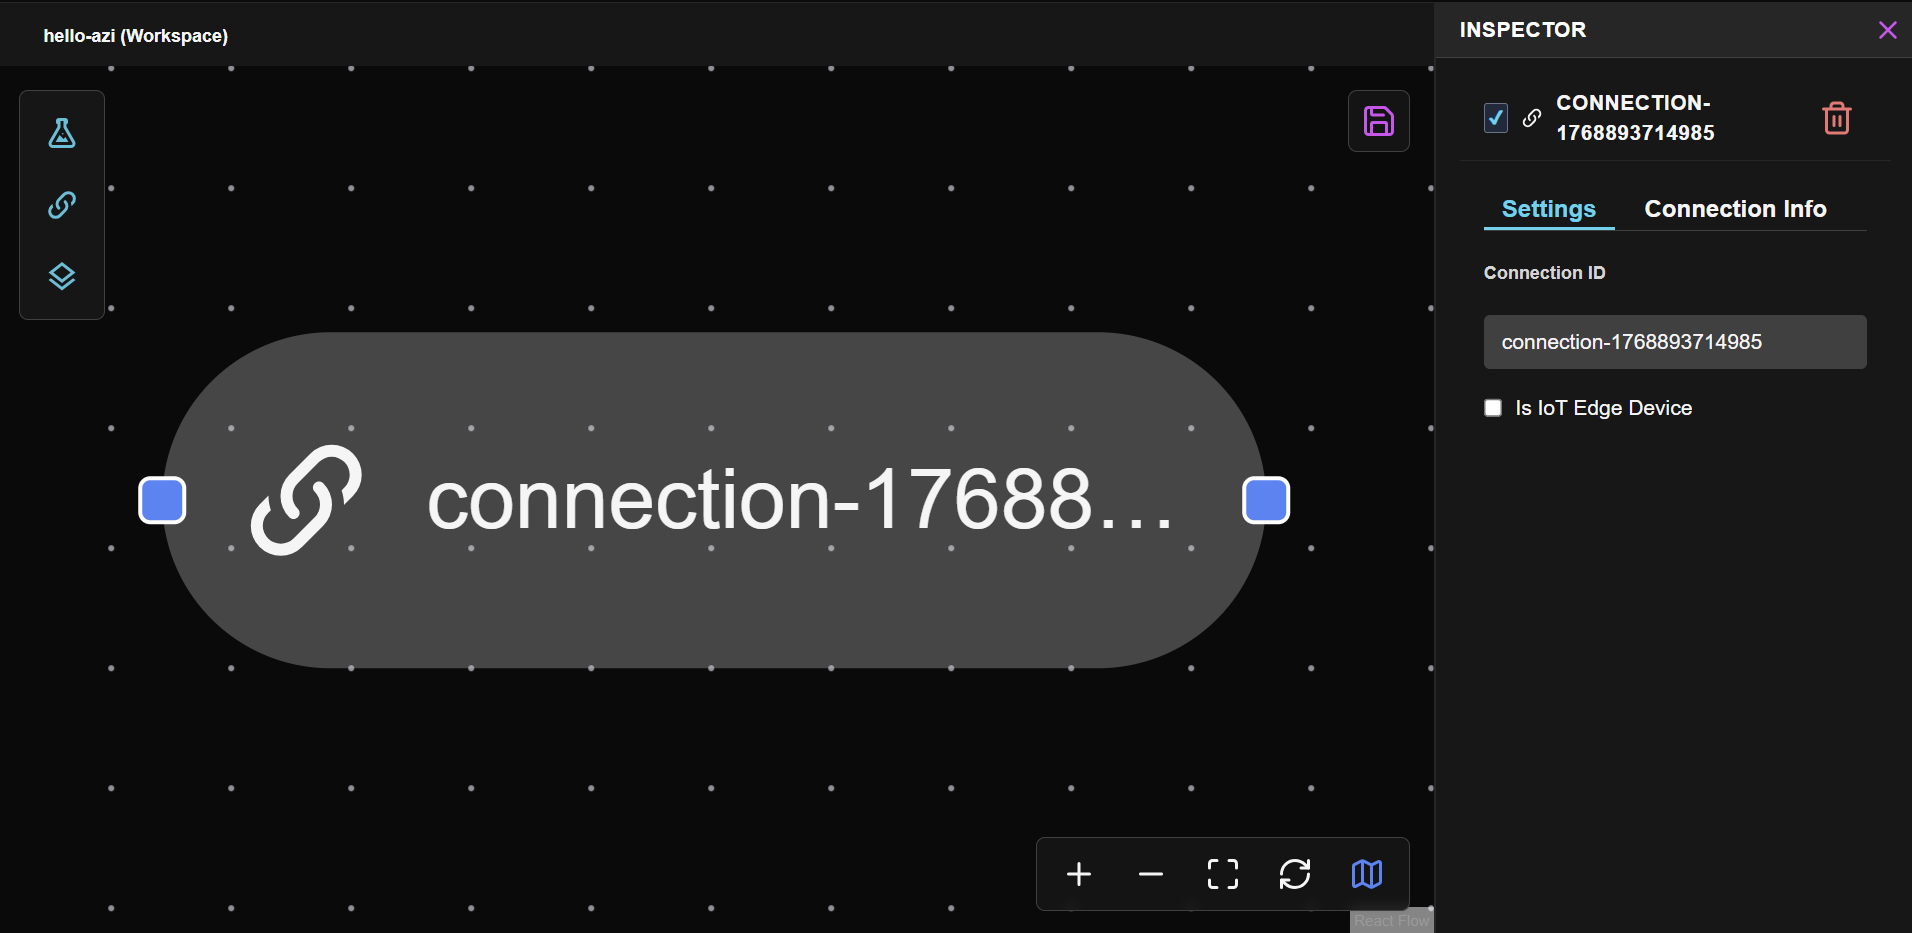
The connection node auto-creates an IoT Hub identity behind the scenes. No additional configuration needed.
Option B: Ask Azi
- Open the Azi chat panel (left sidebar)
- Type: "Create a new connection called BreweryRoom"
- Review Azi's proposal
- Click the checkmark (✓) to approve
Notice: Azi proposed the connection - she didn't create it automatically. You approved it. This is governed AI.
Verify
Your connection is ready when:
- Connection node appears on the canvas
- Node shows "Ready" status (gray/inactive until data flows)
- Click the node to open the Inspector panel on the right side
Clicking any node opens its Inspector panel, where you can view details and configure settings.
No need to save yet - we'll commit and deploy the data pipeline in Step 2 after configuring the simulator.
What's Next
The connection exists, but no data is flowing yet. In the next step, we'll attach a simulator to get live telemetry streaming.